Create a Django Project

Once you have come up with a suitable name for your Django project, such as "myproject", navigate to the desired location in the file system where you want to store the code. In my example, I will navigate to the "django_project" folder. Open the command prompt or terminal and execute the following command to create the Django project:
Installing Django

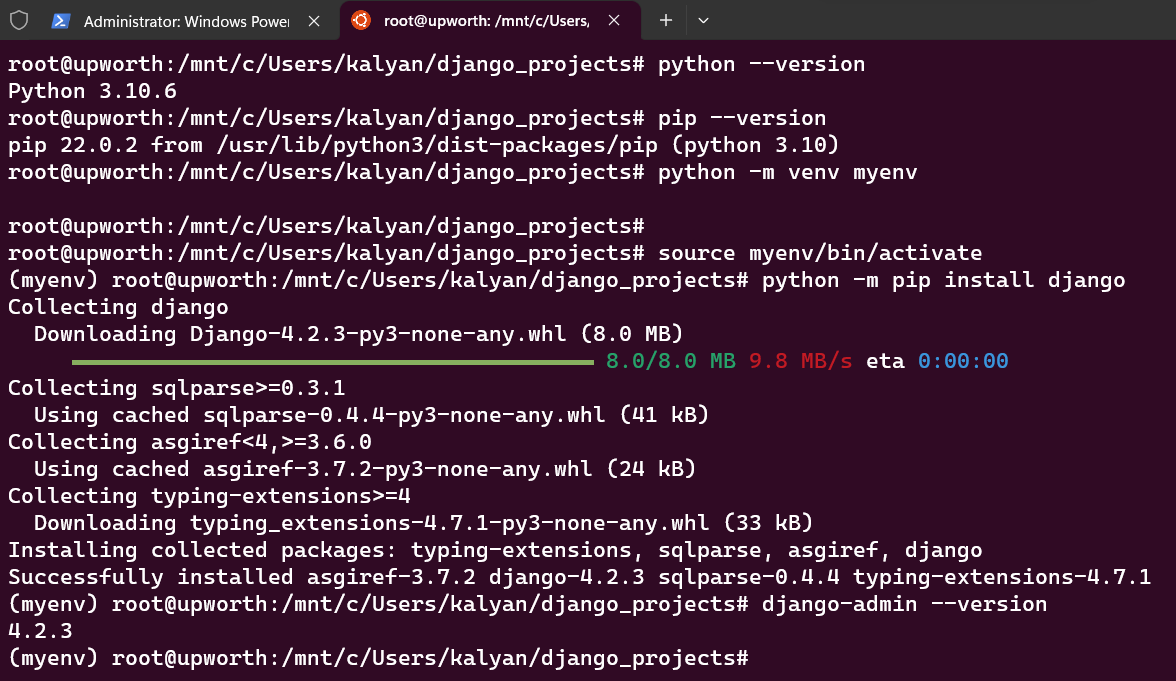
Installing Django Using Terminal
Create a Django Project
django-admin startproject myproject
Congratulations! You have successfully created a Django project named "myproject". You can now proceed with building your web application using Django's powerful framework and tools.
The Django command creates a myproject folder, with the following content structure:
myproject
    manage.py
    myproject/
         __init__.py
         asgi.py
         settings.py
         urls.py
         wsgi.py
These files and folders have unique significance and are essential parts of your Django project. While you will learn more about them later in this tutorial, it is critical to understand their fundamental role now.
- manage.py: This file is like your project's command center. It provides a command-line interface to perform various tasks, such as running the development server, applying database migrations, and executing administrative tasks.
- myproject/: This is the main directory that holds your Django project. Think of it as the container for all the project-related files.
- myproject/__init__.py: This file is an empty file that indicates that the myproject directory is a Python package. It's a technical requirement for Python packages.
- myproject/settings.py: This file contains important configuration settings for your Django project. You can customize various aspects of your project, such as database connections, middleware, and installed apps, by modifying this file.
- myproject/urls.py: This file defines the URL patterns for your project. It acts as a router, mapping incoming URLs to the corresponding views or handlers in your Django application.
- myproject/wsgi.py: This file is used to serve your Django project using the WSGI (Web Server Gateway Interface) protocol. It's mainly used in production environments to connect Django with web servers like Apache or Nginx.
These files and directories lay the groundwork for your Django project, allowing you to control its settings, URLs, and functionality. Understanding their function can assist you in navigating and changing your project as you construct it.
Run the Django Project
You can now run your Django project and view how it appears in a browser. Navigate to the folder that contains the manage.py file, which in this example is /myproject. Then, on the command prompt, type the following:
python manage.py runserver
OR, you can also specify the port that you want to run your django project. It might be possible that you have already running projects on the same port.
python manage.py runserver 0.0.0.0:8000
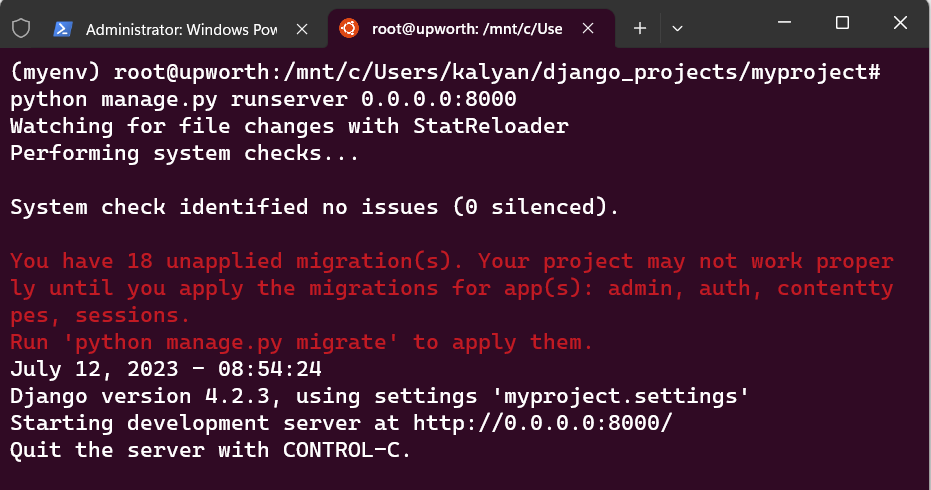
When you run your django project, output will be something like this:
../../django_projects/myproject# python manage.py runserver 0.0.0.0:8000
Watching for file changes with StatReloader
Performing system checks...

System check identified no issues (0 silenced).

You have 18 unapplied migration(s). Your project may not work properly until you apply the migrations for app(s): admin, auth, contenttypes, sessions.
Run 'python manage.py migrate' to apply them.
July 12, 2023 - 08:54:24
Django version 4.2.3, using settings 'myproject.settings'
Starting development server at http://0.0.0.0:8000/
Quit the server with CONTROL-C.
Something like this, right..

Running a django project
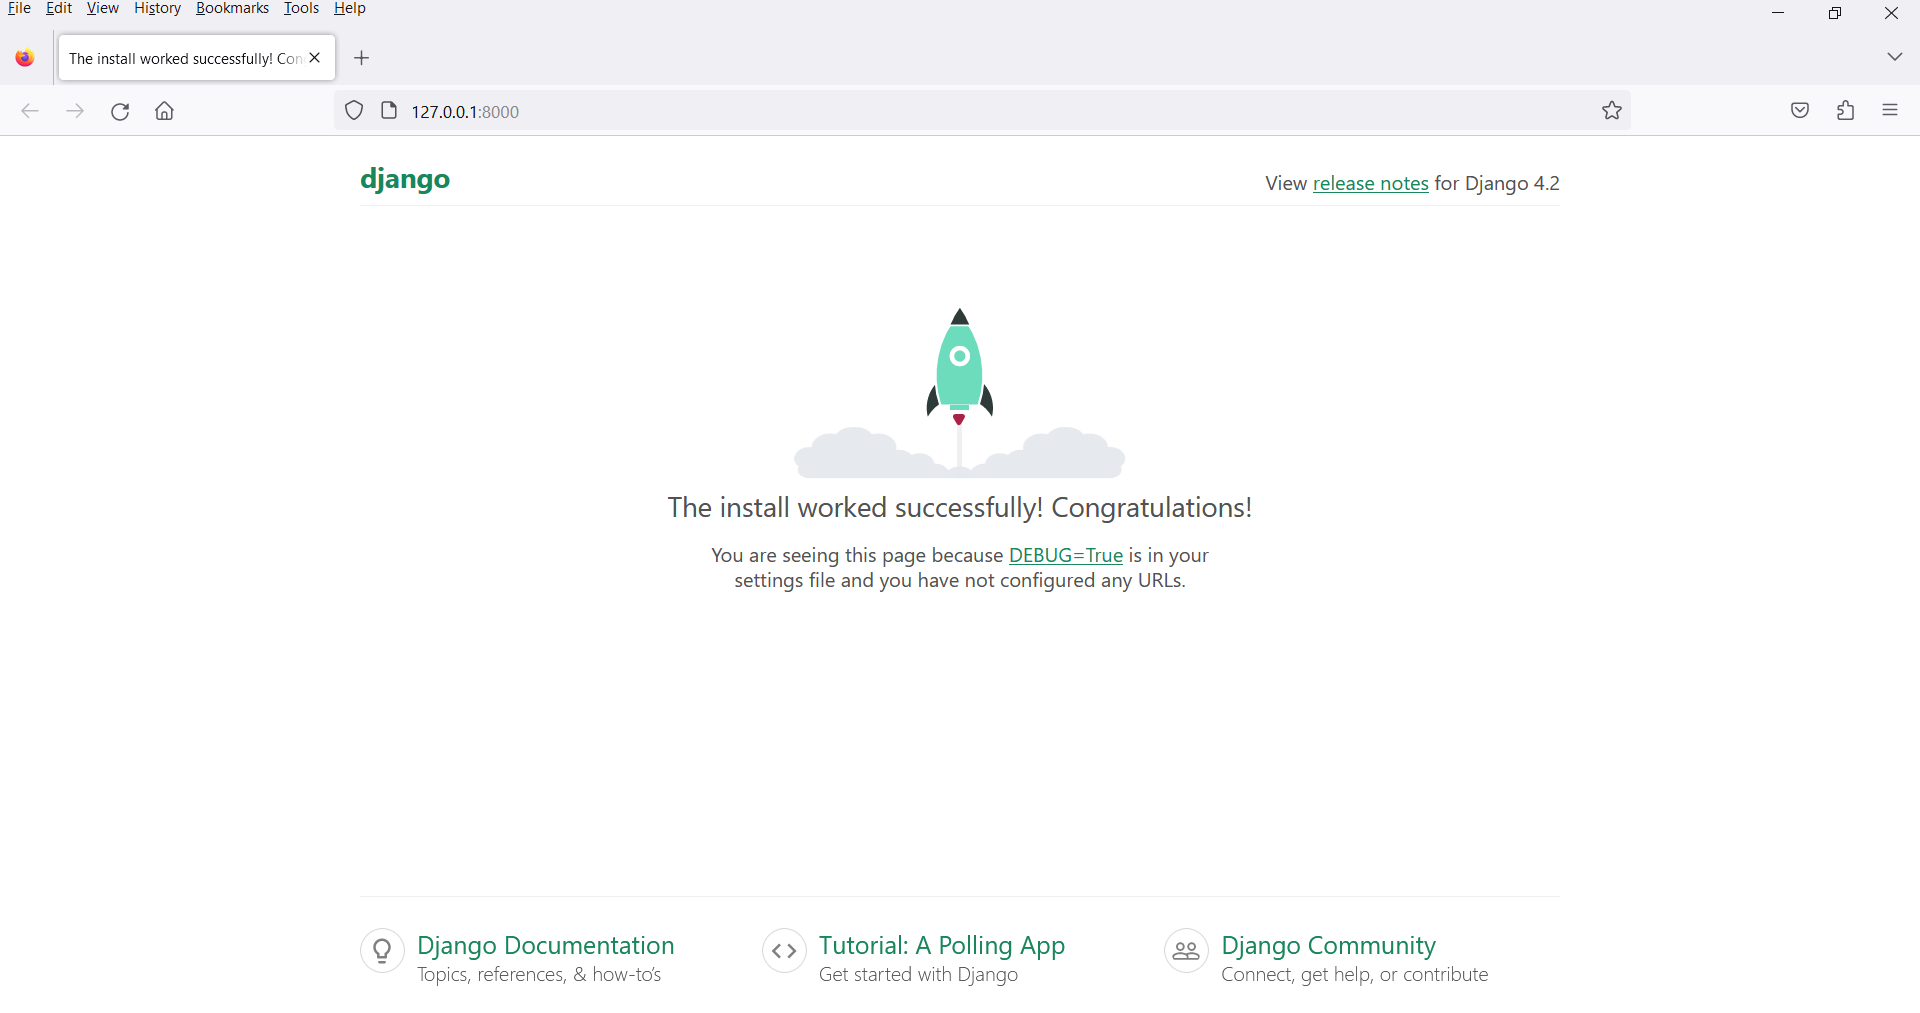
Open a web browser window(Chrome, Firefox, Edge etc.) and type the following url in a new tab: 127.0.0.1:8000
Output:

The Django install worked successfully! Congratulations!
Here we go, we have successfully run our django project. Hopefully you got it till here..
It's just the beginning..
Django project is created, the next step is to create an app within the project called myproject.